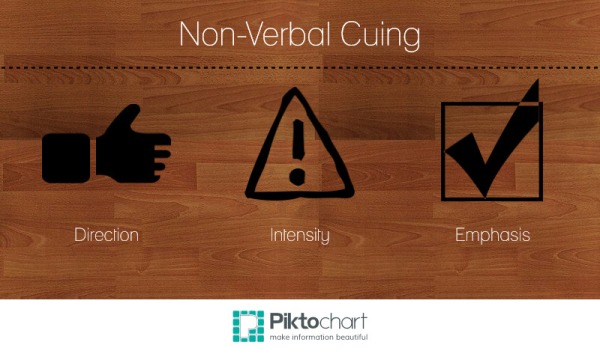
Non-verbal communication is a huge tool in communicating to our clients not only what to do, but how. Do not underestimate the power of using your hands when you teach. Non-verbal cues give us a chance to emphasize what we are saying without having to utter any more words – an extremely useful technique when we have so much to say and limited time to communicate it to our clients.
Here are some examples of how to incorporate non-verbal cues with your hands in an effective manner:
Use Directional Cues
When we are showing a new movement for the first time, there is often so much we want to describe to our clients. We want to tell them the name of the move, the number of counts, and where the move will travel. And sometimes, directional cues are not communicated as easily as “right” or “left.” Pointing in the direction we want our clients to travel, while so simple, is effective. Pointing gets them moving in the right direction.
Create Intensity
What if we want our clients to put more energy behind their movements? For instance, I want them to push off the floor more on their step-jumps. I would use a verbal visual cue, such as create four inches of space between the floor and your feet, while holding up four fingers for emphasis. This method allows us to emphasize our words without simply repeating them, saving us from sounding like a broken record.
Emphasize Your Words
Find ways to show what your feet are doing with your hands. I often point to the muscle that we are working, and then I demonstrate the different between pointing and flexing the feet with my palm. I emphasize the cue to put weight in the heels by pushing the heels of my hands down. Be creative, and remember that a short visual cue can work well with a verbal cue.
2 More Things To Remember
1.) Non-verbal cues are not to be used in place of a verbal cue. Rather, they are used in addition to what you are saying to provide another way for your clients to understand the movement.
2) Non-verbal cues must be obvious enough for your clients in back row to see them, but they shouldn’t be distracting. Particularly when you are demonstrating challenging movements with the feet, keep the hand signals short so they do not distract from the footwork.
Picture yourself attending a class with an instructor that you admire. What makes that instructor a good instructor? He or she most likely exhibits strong communication with the class that makes learning the movements easily understood and executed. He or she utilizes a variety of cues, including verbal and non-verbal. We often forget, however, that we have the tools to add this variety of cuing right at our fingertips (literally).
How do you use non-verbal communication in class? Please leave your comments below.
For further tips on both verbal and non-verbal cuing, check out this article, “Effective Cuing,” from IDEA Health and Fitness Association.


Aw man! I wrote a long reply. Then was asked to sign in, had to reset my password. When I got back, my reply was gone.
Good information.
LikeLike
Hi there,
I’m sorry you had trouble posting your reply. I double-checked the comments settings; it should allow for comments to be posted without a log-in, so I will continue to look into this. Thank you for letting me know, and I’m happy to hear that you enjoyed the information.
Thanks again!
Denise
LikeLike
Great points. I often find myself wondering whether I use too many non verbal cues, but when I talk to my students, I realize that often they just can’t hear the verbal cues, no matter how loud the microphone is, because they get lost in the music. So non-verbal cues are a great help, I love putting up fingers and pointing. 🙂 Thanks for this reminder.
LikeLike
Carmen,
I can definitely relate! I hadn’t thought of that before — those non-verbal cues can save us when our students are really focusing on the music, or even if there’s a sudden technical difficulty with the microphone. Thanks for sharing your thoughts, and good luck with your classes 🙂
Denise
LikeLike